Got it installed yesterday, and I love it. My wife even likes it.
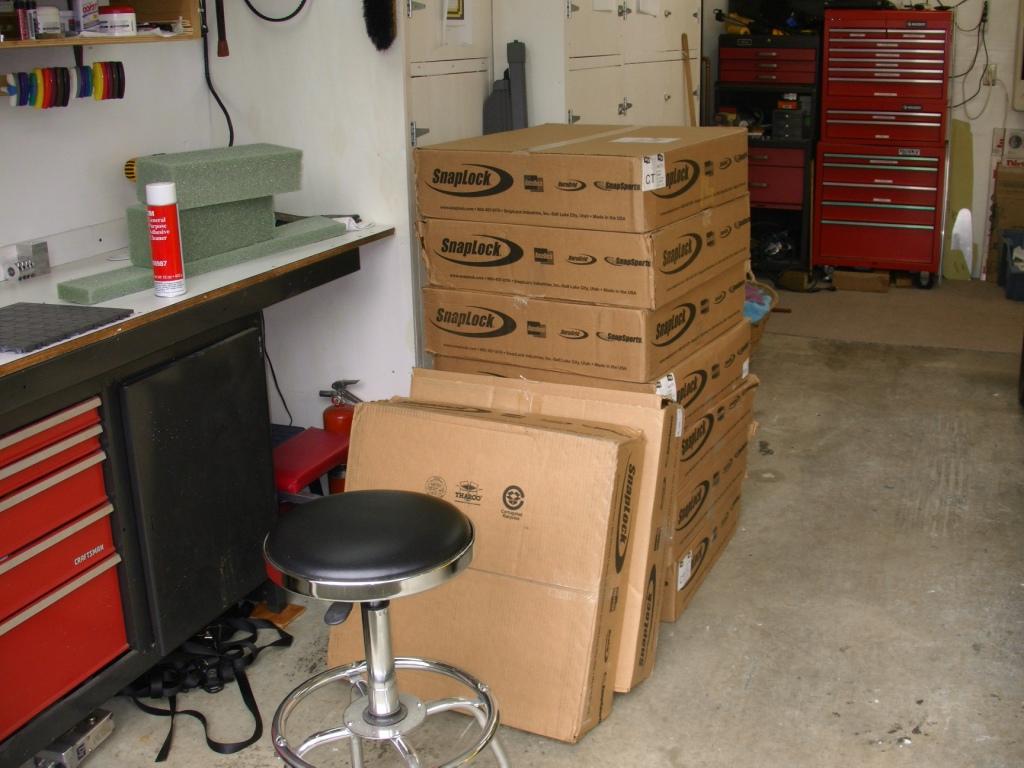
Here are a couple pictures of the before with the boxes of the flooring ready to go.
Didn't take to many pictures during the install, except to provide a hint that at least worked for me.
If you look at the next series of four pictures, you will notice that when fitting a piece into a corner, I set the corner first, then worked my way out to the edges. I found that if I started at the edge, it was extremely difficult to fit the corner, as it was kind of wedged in.
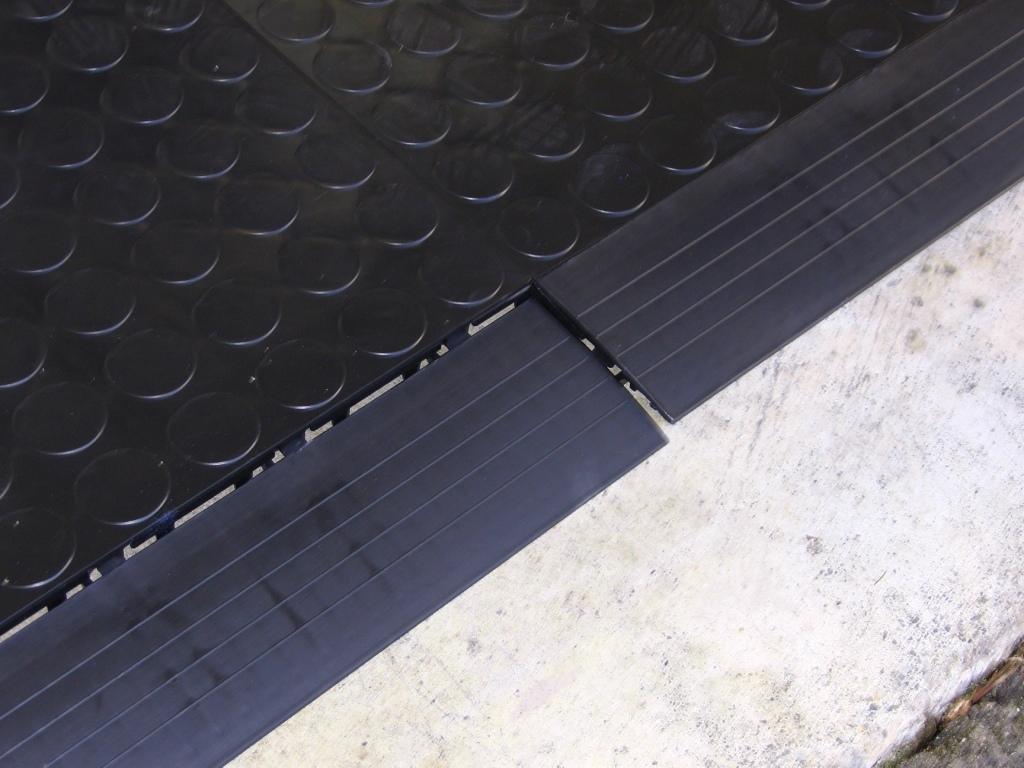
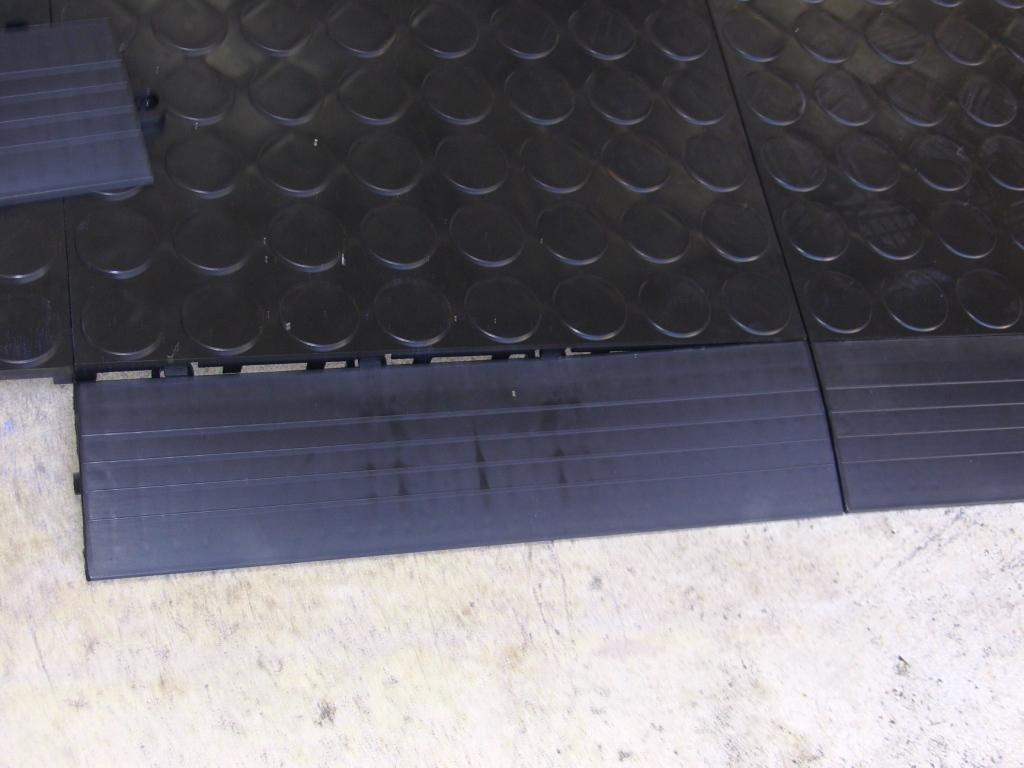
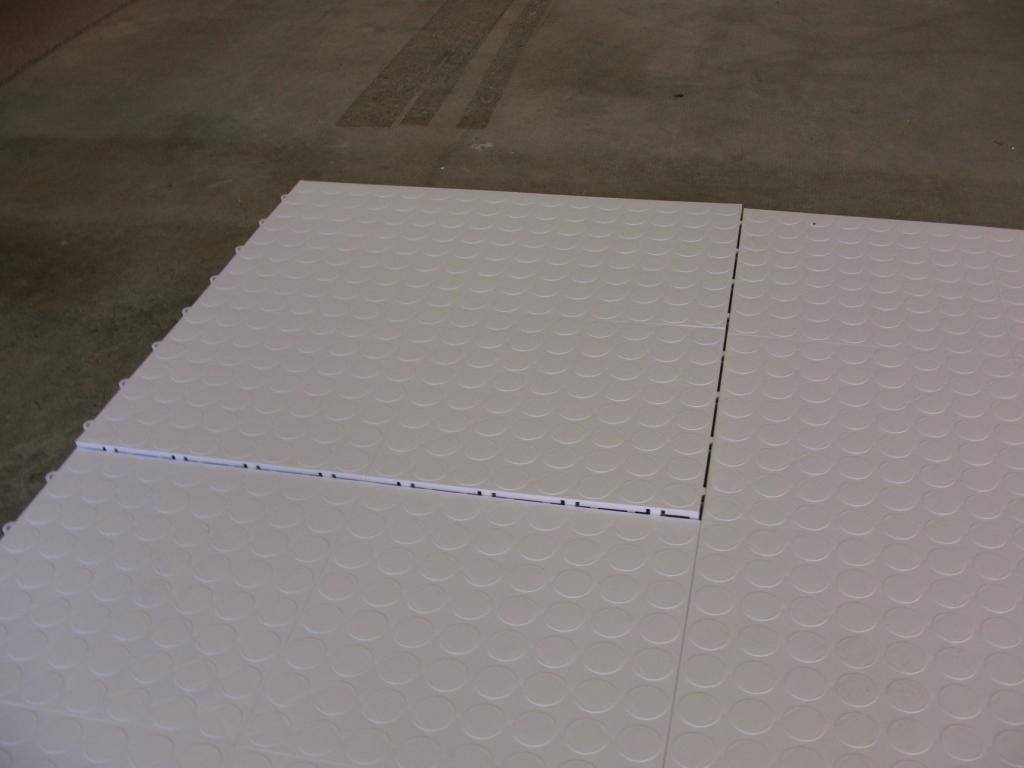
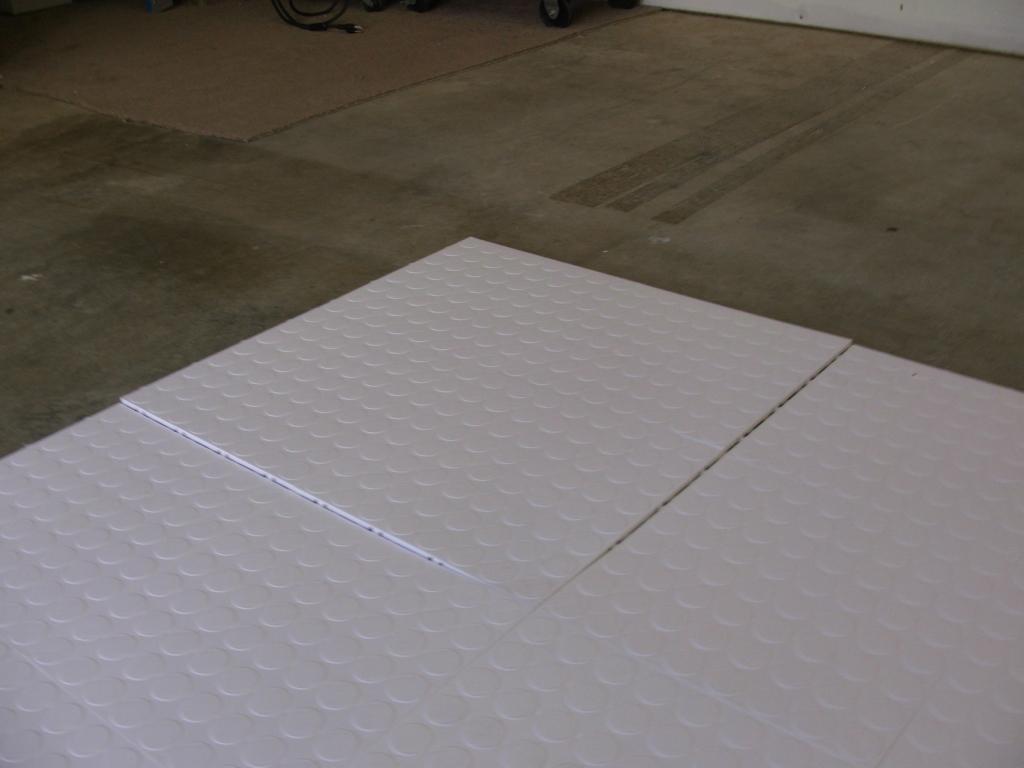
For the transition pieces in the first two pictures above, I used a rubber dead blow hammer to set them in place. I also used the dead blow hammer for the pieces I had to cut to fit around the edges. For all the other, like in the second two pictures above, I just stepped on them with my foot. Once again, I worked the corner first.
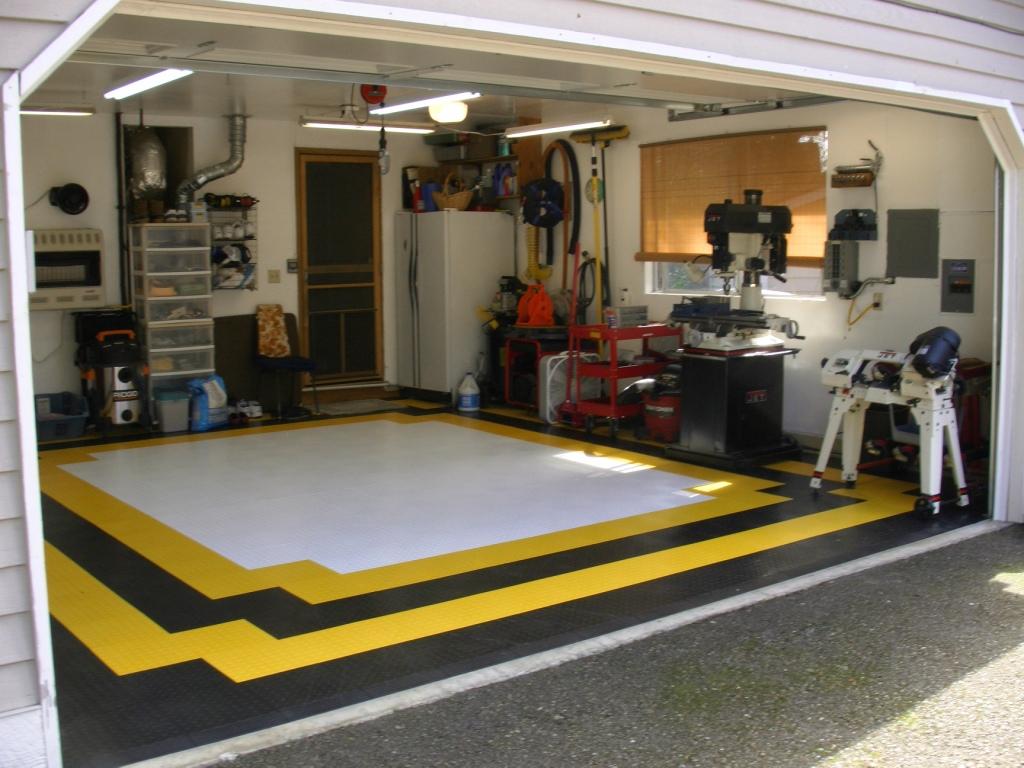
And here it is, all complete. Yes, I know, it's still a mess, but it's also a working garage.
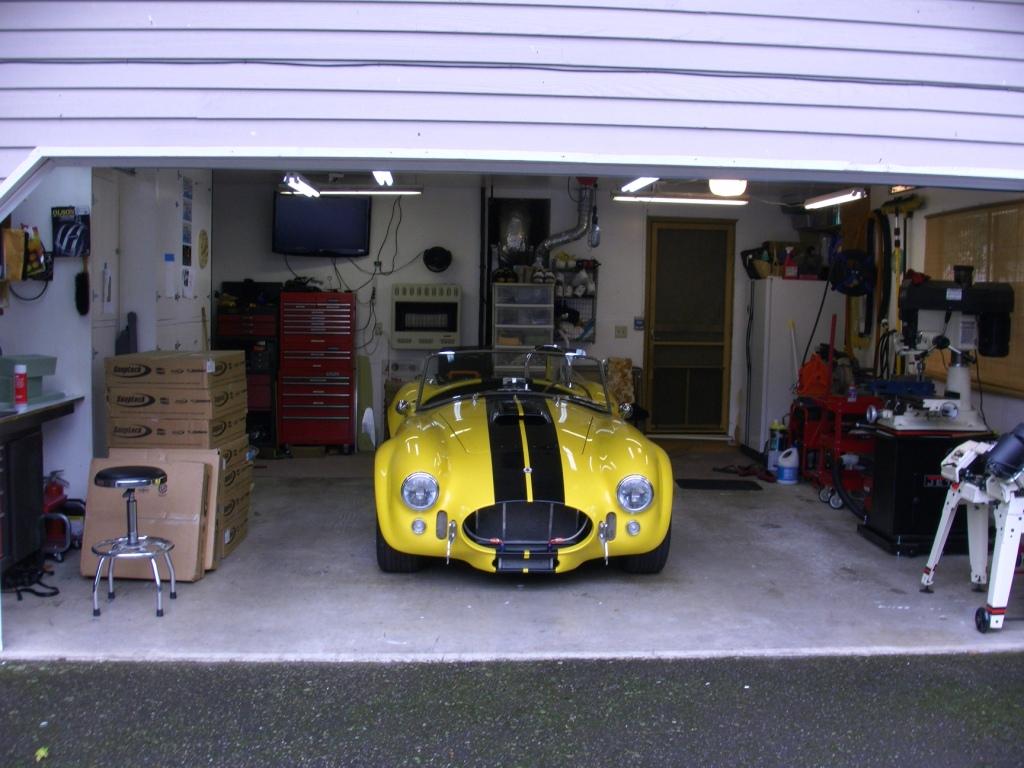
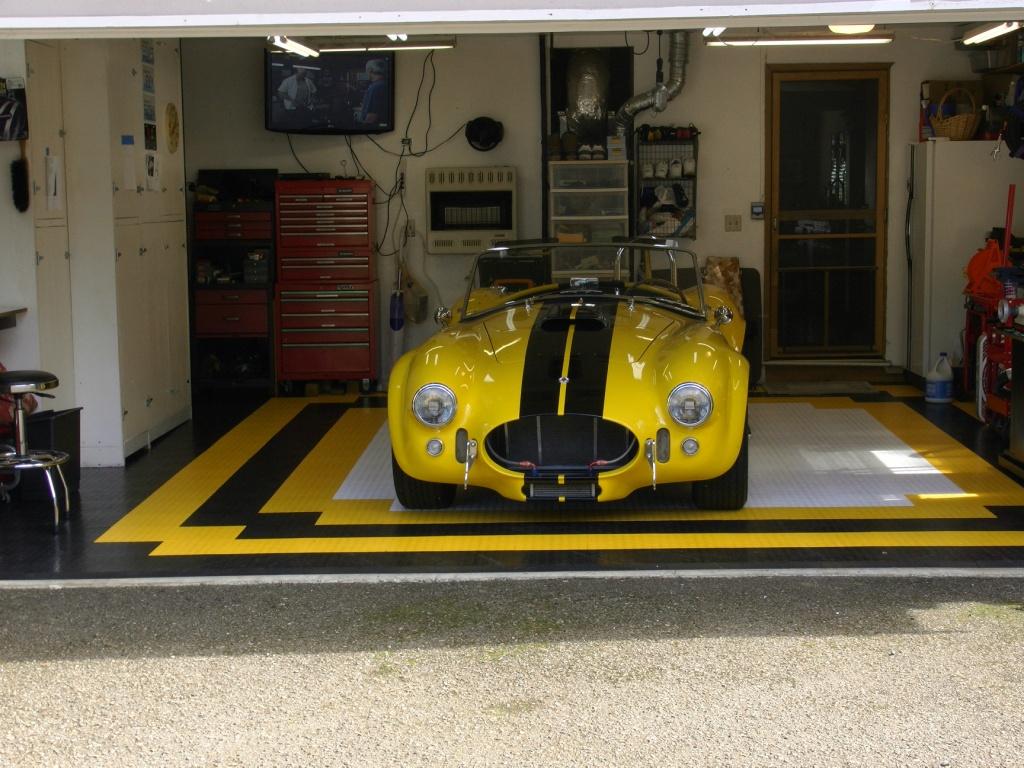
Finished with the car in place.
Now for some the things I learned that made it easier for me.
For cutting the tiles, I used a jig saw. I tried my chop saw, but it left more of burred rough edge. For cleaning up the burr, I used a medium rasp file. Go over it a couple times and it was cleaned up.
For marking the tiles for cutting, I used a silver Sharpie pen as this showed up well on the black tiles. After cutting and filing, I sprayed the edge with 3M adhesive remover and wiped it off with a rough terry cloth rag. Left me with a clean tile that way.
I ordered 5 extra tiles of each color. That way if I screwed up cutting one, I would not be dead in the water. As it was, I only screwed up one black tile, so now I have some extras in case I damage one in the future.
Needless to say, I'm very pleased with the RaceDeck product, and the outcome.
Only negative thing I have to say is that it's to easy to do. I only had to time to consume 8 beers. I was figuring it would be at least a short case job.
Let me know if you have any questions that I can answer for you.