I forgot to finish posting photos of the hammerform. Johnny Moss came up to the shop a few weeks early and made some plaster of paris female molds of the front end. He then used some fiberglas reinforced (high strength sackcrete to pour male molds. The center lower nose was the most difficult panel to make so Johnny mounted that on his stretch forming fixture.
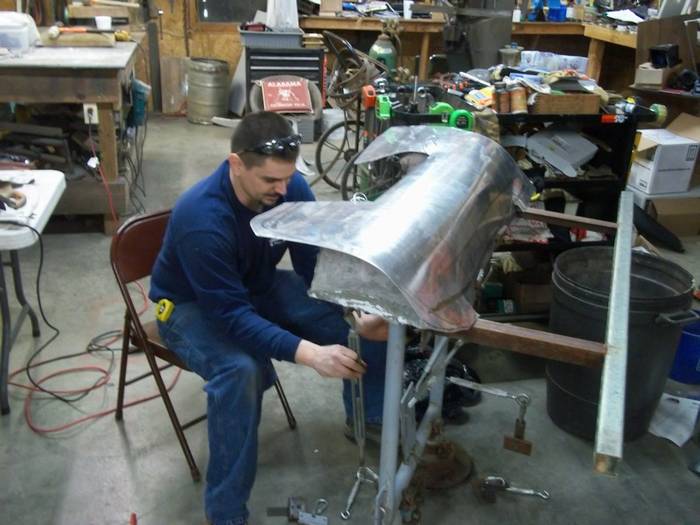
I don't have a great photo of his fixture. Basically it's a stand that the form bolts to. It also has many holes for attaching the clamps. The clamps are really, really simple. Vice grips fastened to an adjustable turnbuckle. A SIMILAR but much, MUCH more basic approach than Kirkham uses to shape their bodies. The vice grips are positioned, clamped tight, and the turnbuckles tightened to pull the metal over the form.
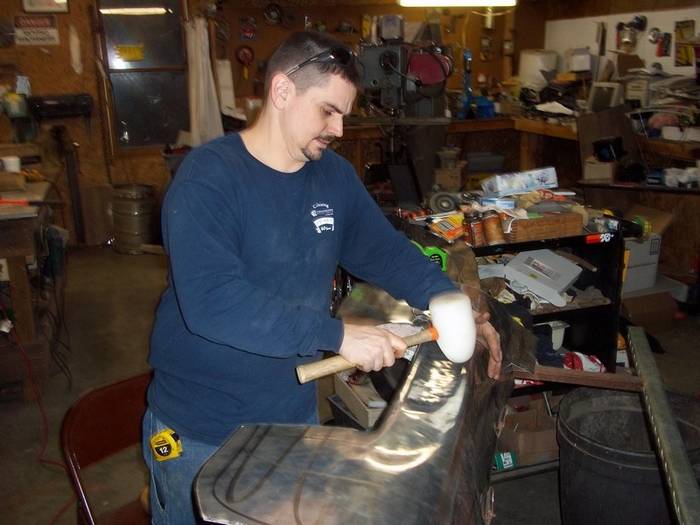
Once an area is pulled tight, the details are stretched in using a variety of soft faced striking instruments such as plastic hammers and wood and plastic corking tools.
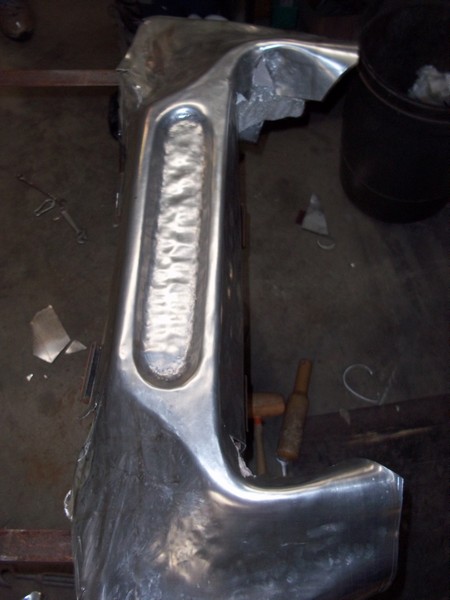
When areas had excess material, they would form 'ruffles' that Johnny would carefully tap down, shrinking the metal. As you can see in the above photo, a tremendous amount of detail was created in the hammerformed panel. 90% of the shape was created by stretching. The other nice thing is that the panel is 100% in the proper arrangement. That is, everything is where it is supposed to be relative to the other features in a three dimensions. This aspect is actually a pretty big deal in metalshaping. A little bit off will lead to a good bit off as the error compounds as the panels are welded together. Having a body to use as a buck certainly helps keep everything in position.
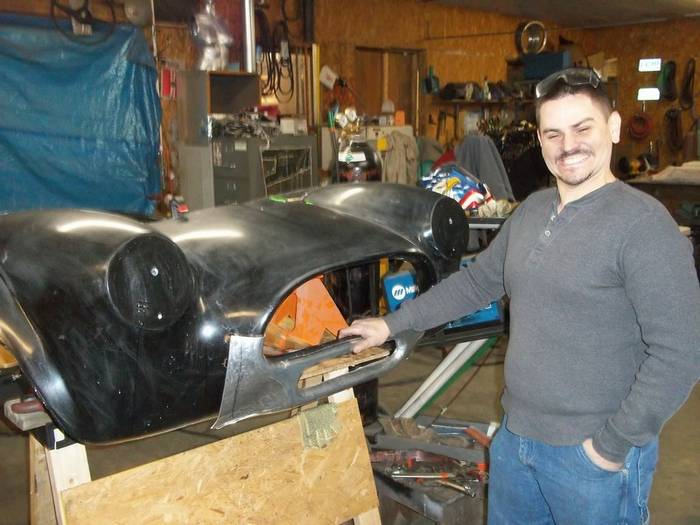
Johnny was really happy with how it came out and I was impressed with how well a relatively inexperienced shaper could produce a complex panel with a minimum of tools.
Since that time, I've used a similar hammerform process using female molds made from short strand fiberglass reinforced body filler and steel rods to make a complex curved air tube for a customer project. The concept definitely has it's place.
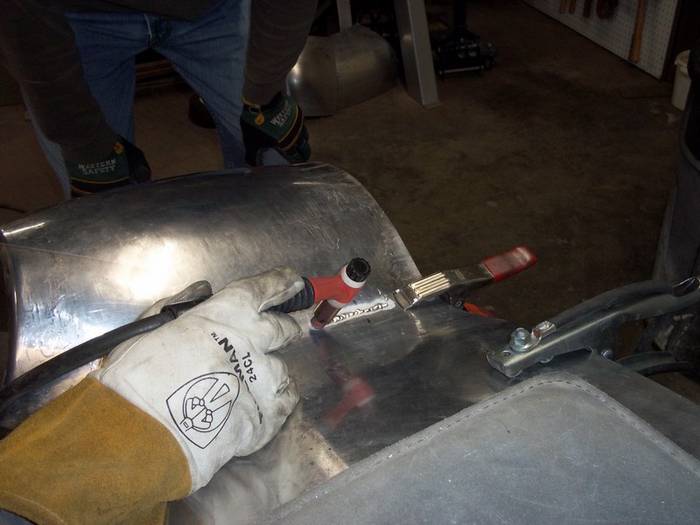
A closeup of the TIG welding process. We placed a thin strip of annealed roofing copper under the seam while it was being tacked. This protects the gelcoat from the heat and the weld from contamination.
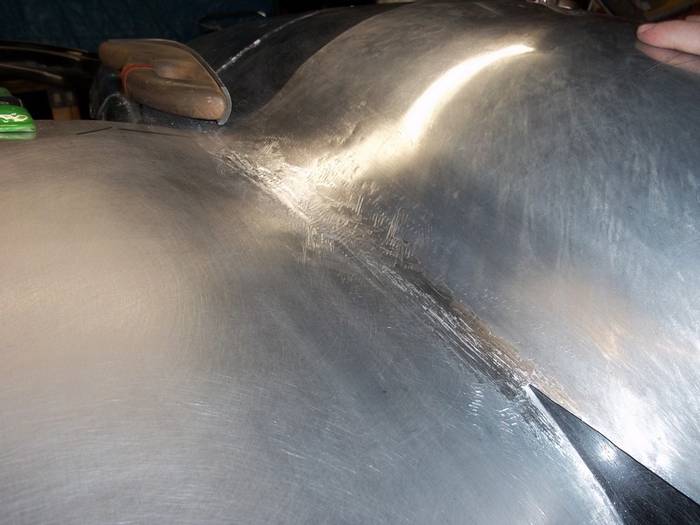
Once welded, the backside was fused with no filler and the weld was knocked down with an aluminum grinding wheel. Then it was filing time. For this panel, 90% of the file work was done with the bullnose vixen file you can see in the photo. I have lots and lots of vixen files and they all get used for various shaped welds.
That's about all for now. I'm excited that 'ThePanelbeater' (Panel-Craft) has started a gallery showing the building of an aluminum Cobra.

Should be some good stuff in that series.