For some reason I cant find my fuel tank build thread so I'll start a new one.
Previously I had a seperate swirl pot and 2 pumps (one in the tank and one external). I had a 1/2" line running up to the engine bay where the regulator was on the fire wall and then another 3/8" line going back to the tank. All the lines were attached to the inside of the tunnel. It was complicated with a lot of connections and clamps holding it in place. Also it turns out a lot of it was difficult to get to if I needed to fix anything.
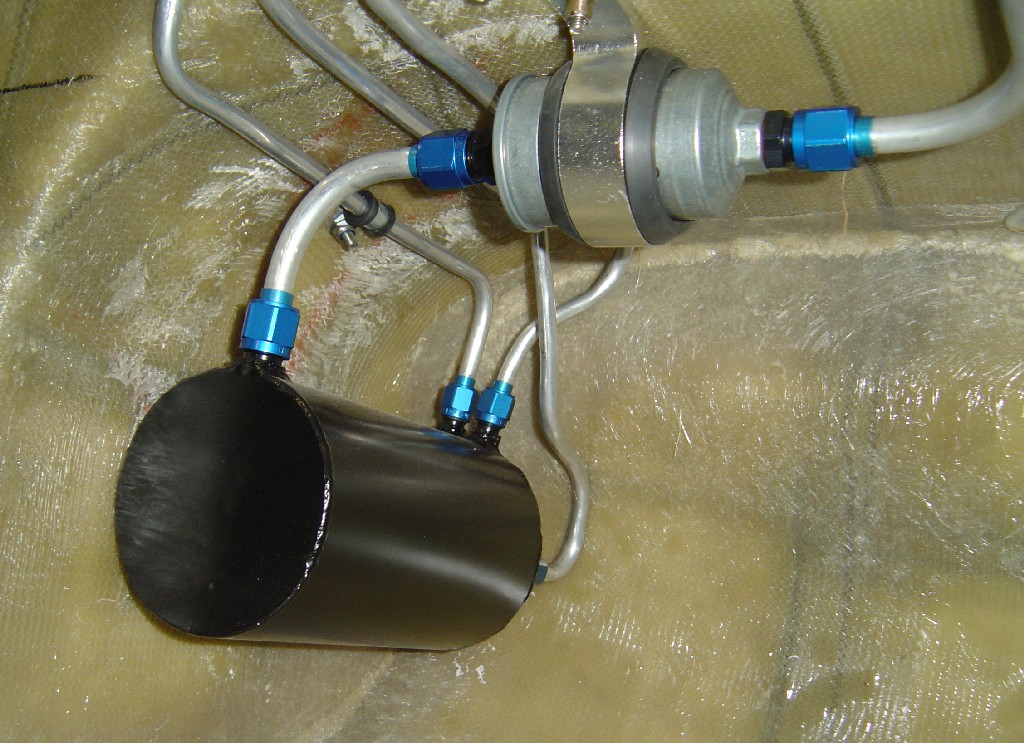
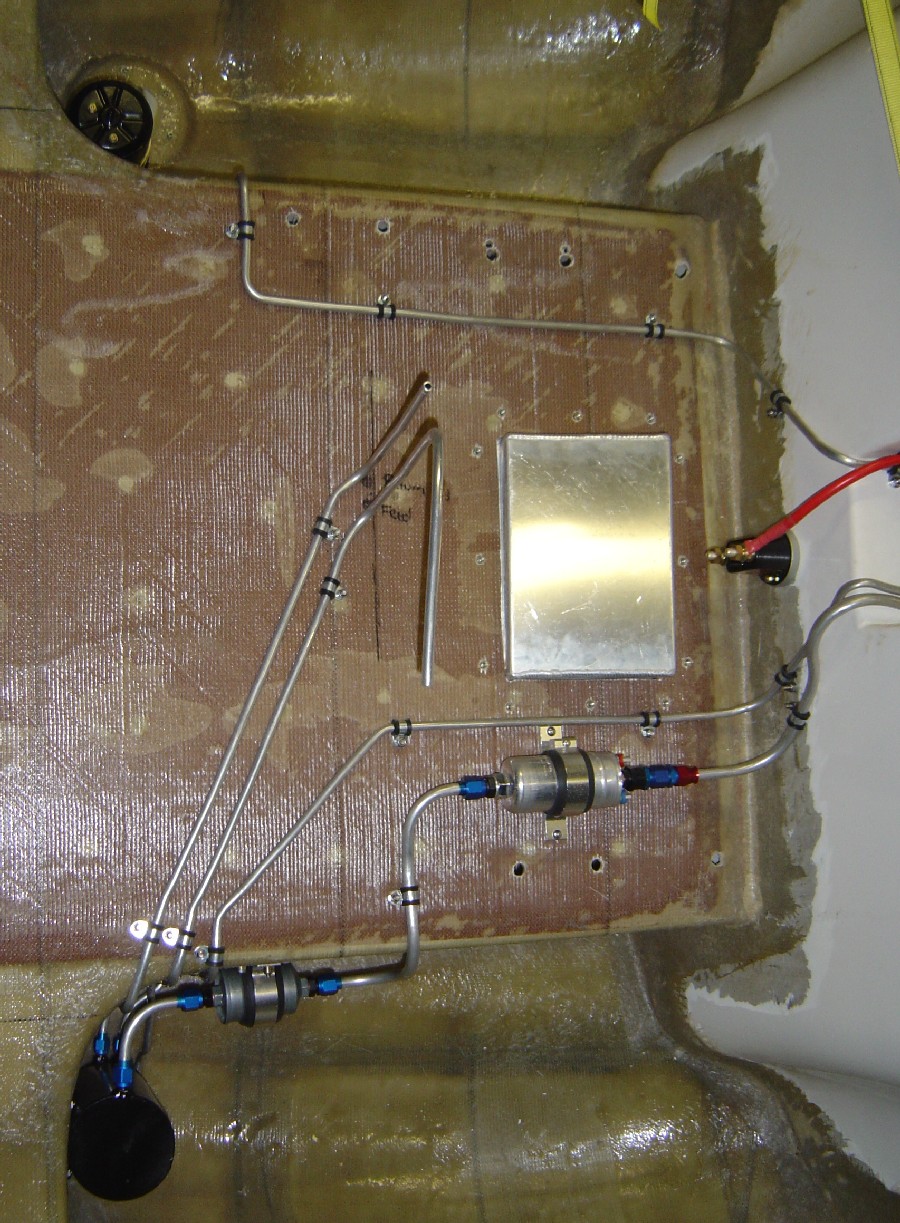

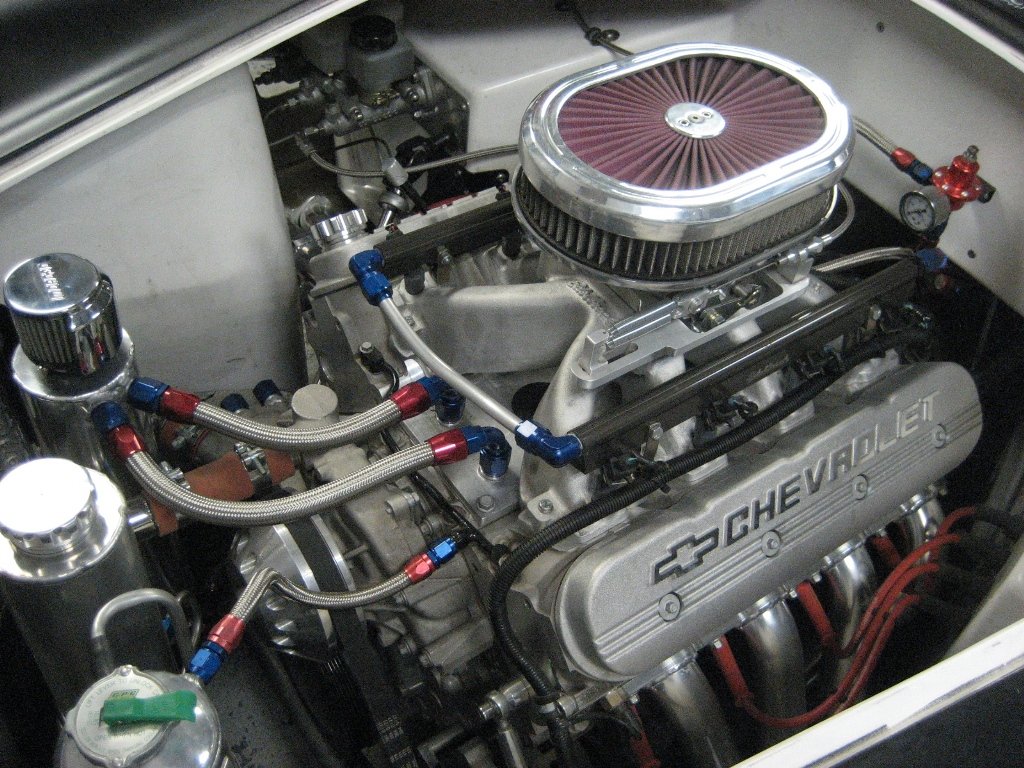
It was a lot of fun doing all the plumbing and setting it up but in hind sight just too complicated. The new tank setup was designed to simplify everything and make it easy to work on. It also needed to work as well or better and be quieter than the old setup. Having the pump bolted to the underside of the boot floor was a bad idea. it ended up being louder than the engine when the quiet rego exhaust was on.
So the new tank has a much larger capacity, it's internally baffled and has the swirl pot and pump built into it. It also will hopefully look better than the old Commodore donor tank.
For those that missed the tank build thread...
Internal Baffles
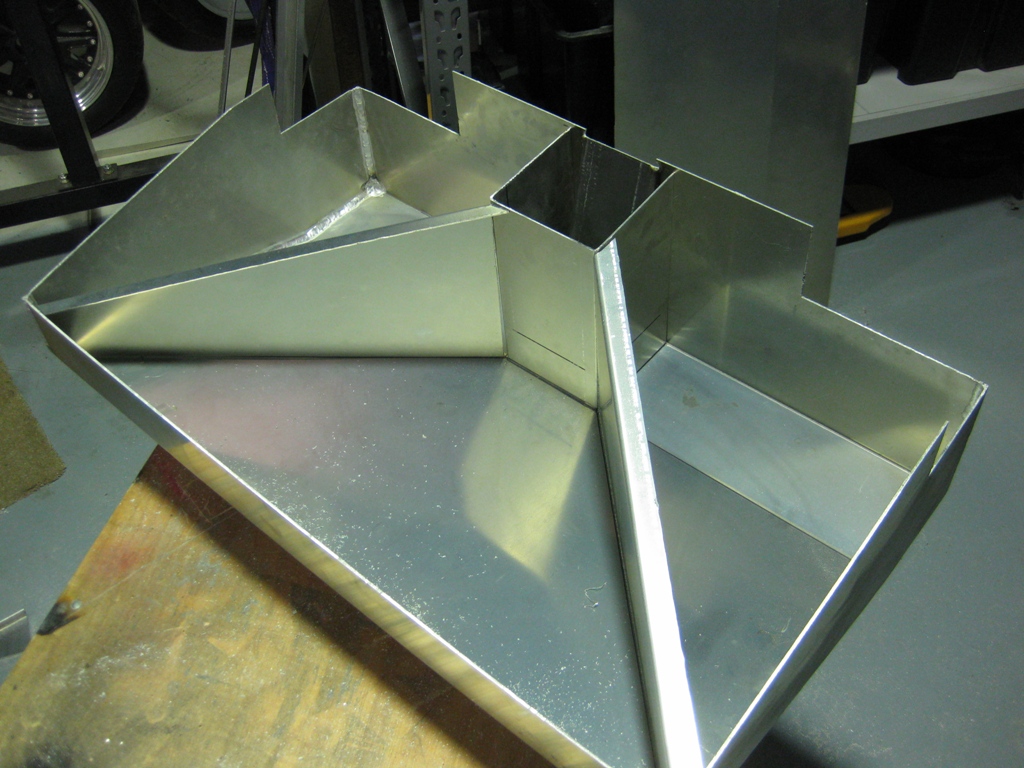
An internal swirl pot with flap valves to keep it fed with fuel.
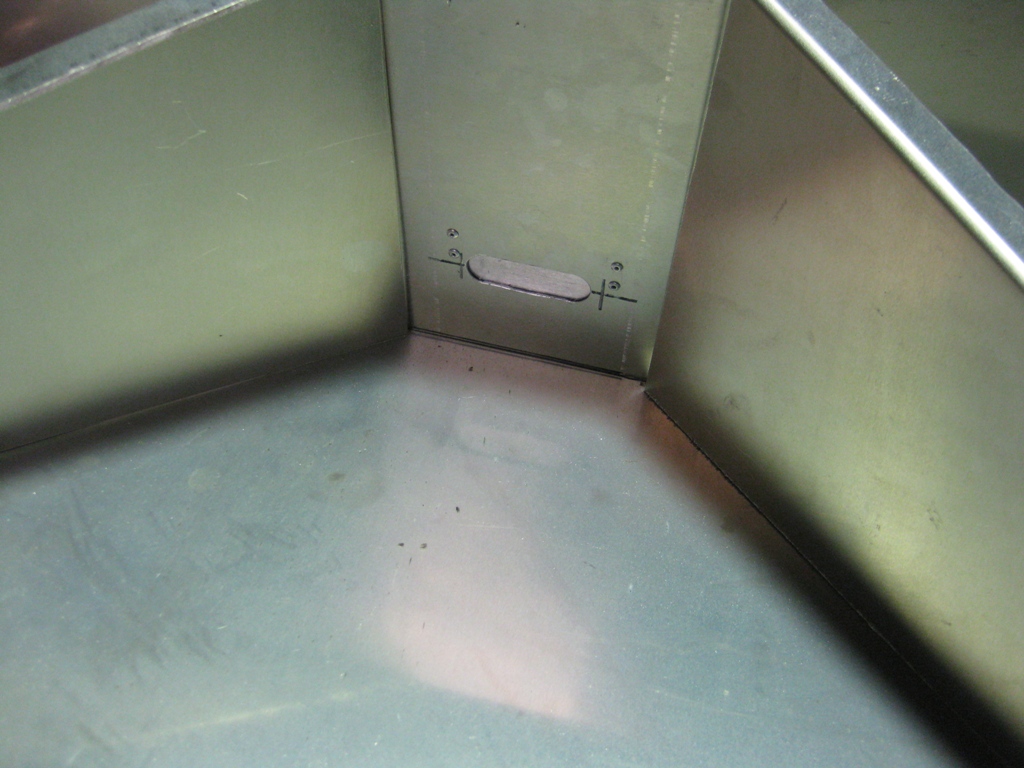
An External Bosh 044 set up to pick up fuel from the bottom of the swirl pot. I did it this way because I already had the pump and also for ease of servicing as you can just unscrew the pump to replace it without having to get inside the tank.
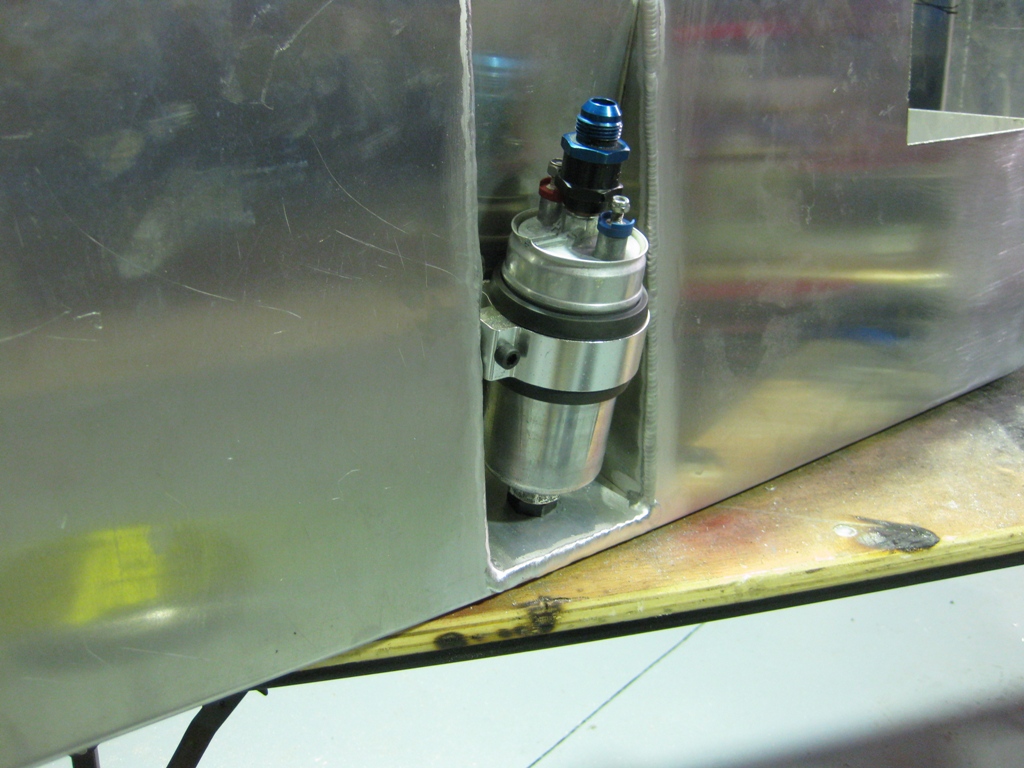
The tank is in place now and I'm plumbing in the fuel system to the motor. I've simplified things a lot here. I've mounted a bypass regulator on the tank next to the pump. Fuel from the pump goes direct to the reg and a port on the side bleeds excess pressure straight back to the tank. A single 1/2" line goes from here along the chassis to feed the motor. No return lines and not too many connections or clamps required. This is pretty much the same as the factory setup but supersized. Bigger pump and reg, bigger lines etc.
It had to be easy to work on and also safe from damage. I was always worried about some of my fuel lines heading up into the wheel arch where the swirl pot was.
Here's the line where it goes from the reg on the tank down to a hard line on the chassis. Everythig out of harms way.

There's a tab welded to the chassis for a bulkhead fitting to support the line and make the connection between the flex line and the hard line on the chassis.
The hard line runs along the inside of the chassis rail where it terminates at the fuel filter.

The fuel filter was previously under the boot floor. Changing it meant spillling fuel all over the rear suspension arms and it was tricky to get at. The now location is dead easy to get to and no mess to change. It also acts as a transition between the hard line and the flex line to the motor which means a few less connections.
There's now a longer flex line connection from the hard line to the motor. This was something I worried about with the old setup. I only had about 8" of flex line between the hard line and the motor. I didn't realise how much the factory mounts let the motor rock and this short line chould have been a cause of fatigue and a break in the hard line.
The new flex lines are all teflon. With the variety of fuels these days I had some concern about the compatability of the old braided rubber lines. I also noticed that the fuel tended to permiate through them giving off a fuel smell. Teflon means I can run anything in the future, E85 etc with no worries.
The tank and all the lines can be removed in a matter of minutes. Everything is easy to access and work on. I think that one advantage of a hoist is you can stand underneath the and look at where everthing should go rather than imagining it.
The rails came in for some simplification too. One line comming in that is T'ed of to feed both rails. No more return lines etc

I've still got to machine up a couple of clamps to secure the line to the back of the cylinder head.

I still wanted the pressure guage so I plumbed that into the end of one of the rails and plugged the end of the other one.

Fuel pressure will be a bit more difficult to set because I've got to reach into the gap between the chassis and the tank but realistically once it's set I will probably never touch it again. The advantage is I'll be able to clean all the junk off the firewall for a neater look to the engine bay.
Cheers