Today, myself, Darryl and Russell commenced the build on my Pace 427SC.
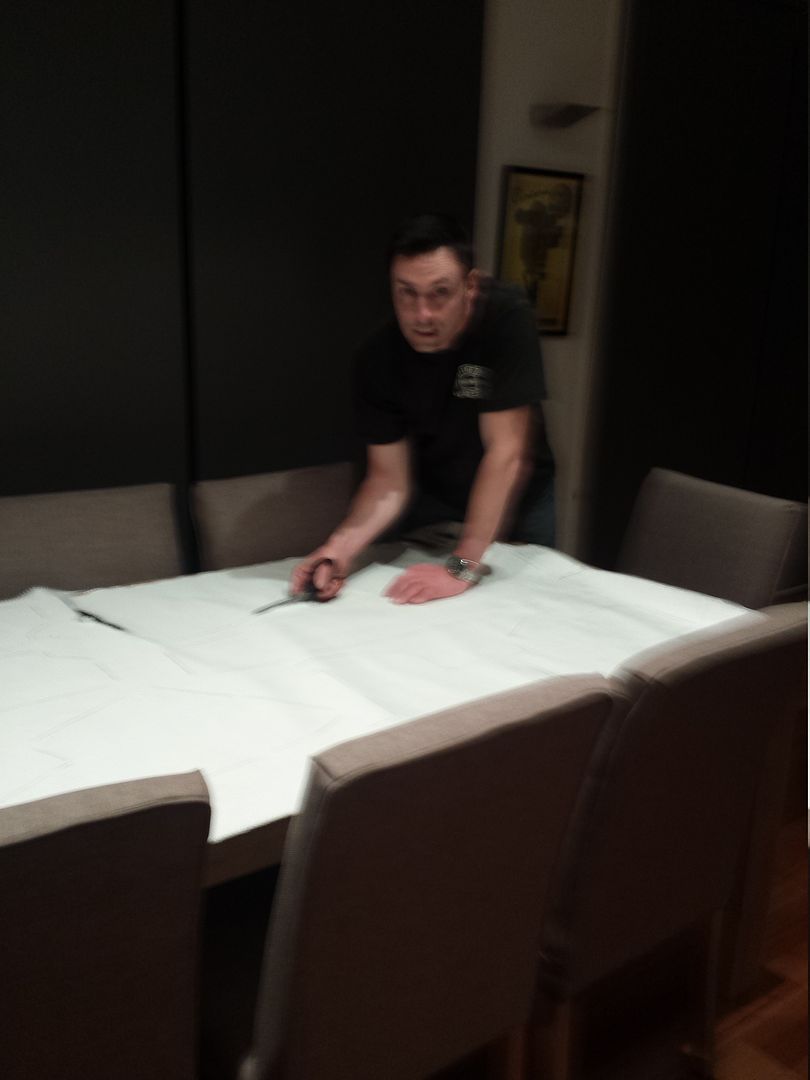
But last night, I cut out the insulation panels (sorry...that's my wife's crappy photography!):
Firstly, we removed the boot, bonnet and doors. With the doors, I drilled two small holes into the door side of the hinges (one in the middle, one to the outside). The reason is that when you refit the doors, you insert two drill bits through the holes and it orients the door perfectly so it bolts up in exactly the same place as when it was removed.
Next, we removed the body. It was really easy to do, and although the manual suggests 4 people are required if the door hinges are left on, we successfully managed to do it with the 3 of us.
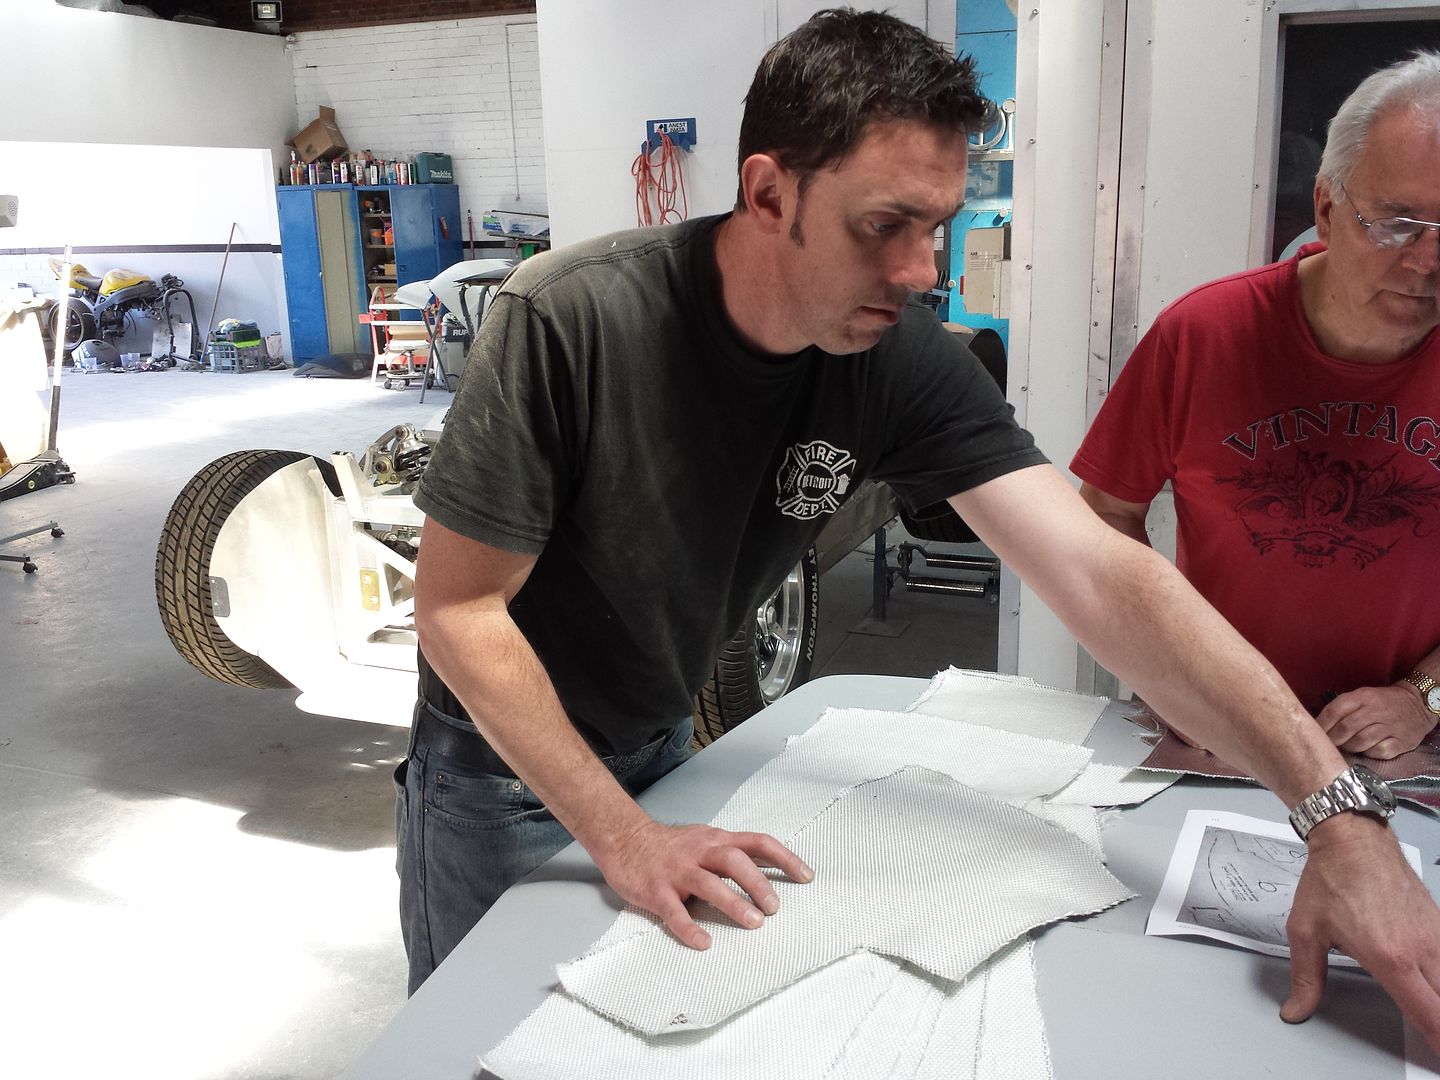
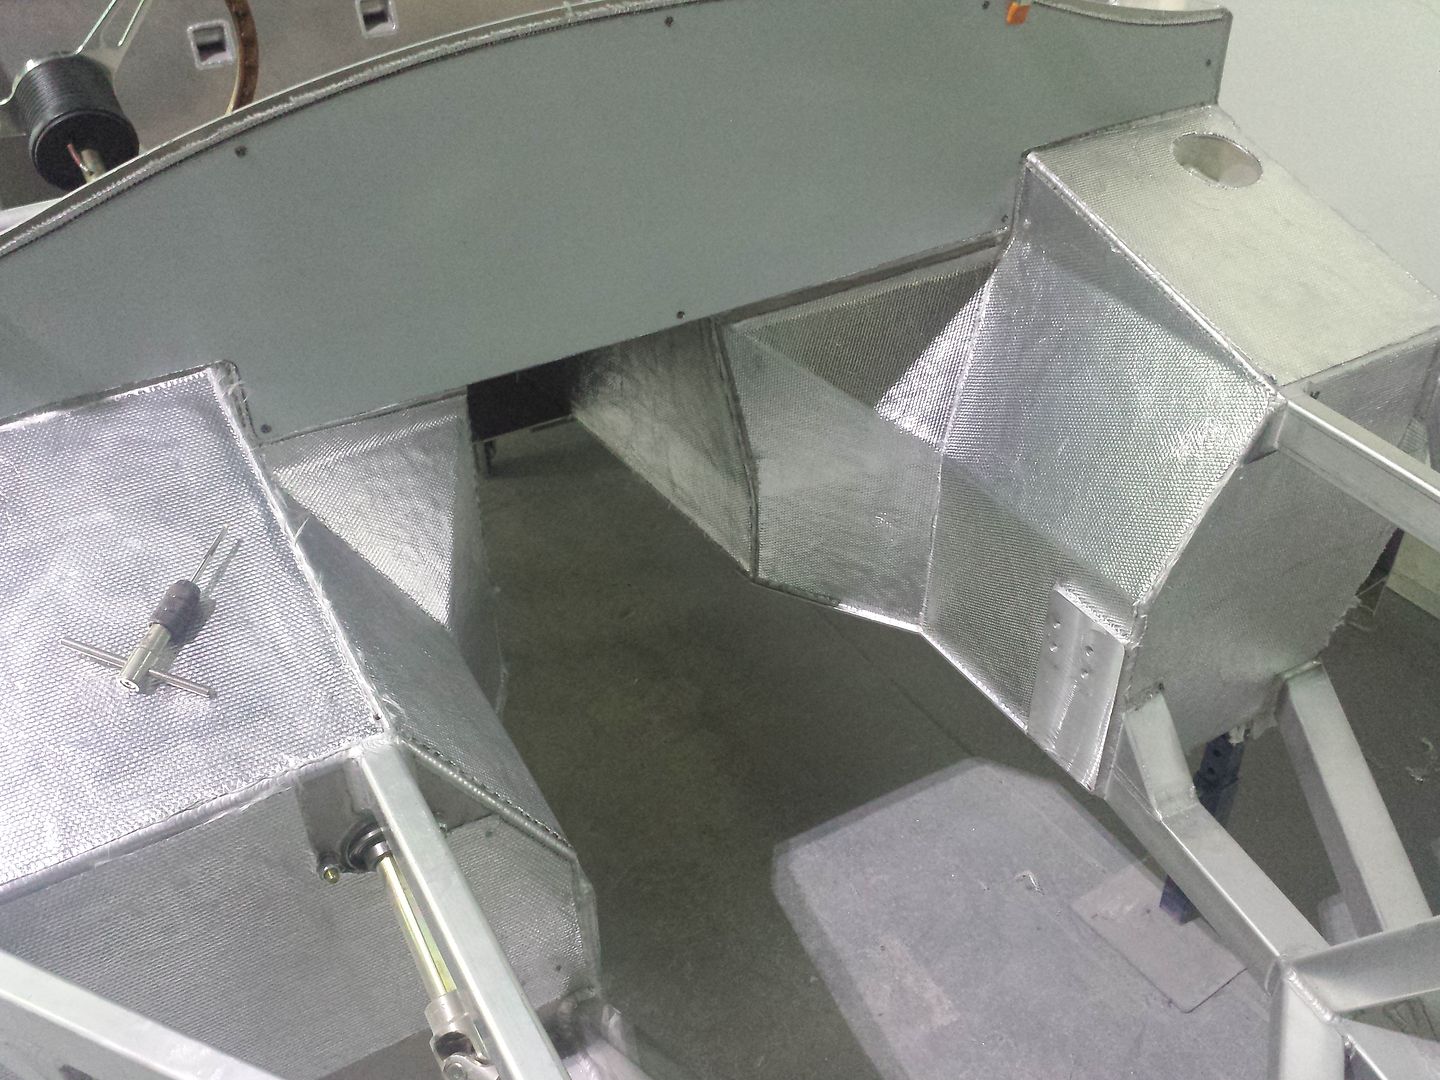
Then we moved the Cobra to it's build spot, and set it up on jack stands. We then laid out the aluminised insulation panels in preparation for installation. In my haste to cut them out, I neglected to write the part number on each piece, so we simply used the plan to identify what part was what:
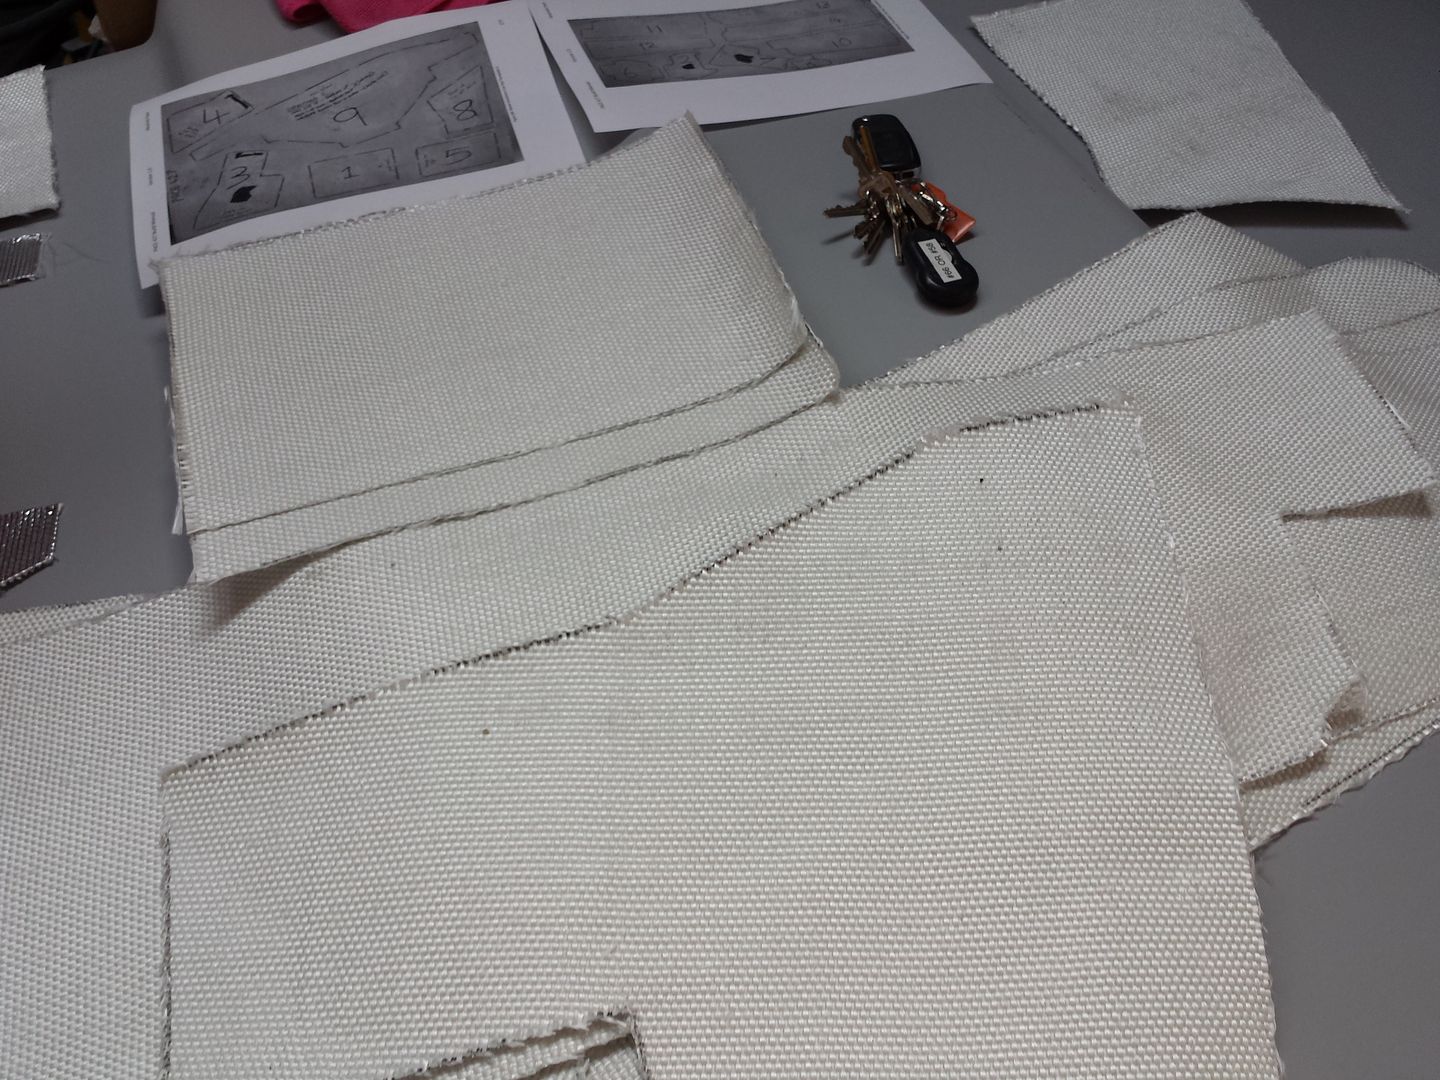
We used the recommended Selleys high temp silicone to attach the insulation and that went on a treat, although we needed 3.5 tubes instead of the recommended 3. Some of the templates weren't perfect (as marked...they were cut properly) so we simply cut some extra pieces to fill in the gaps. As a whole, the pieces fit great.
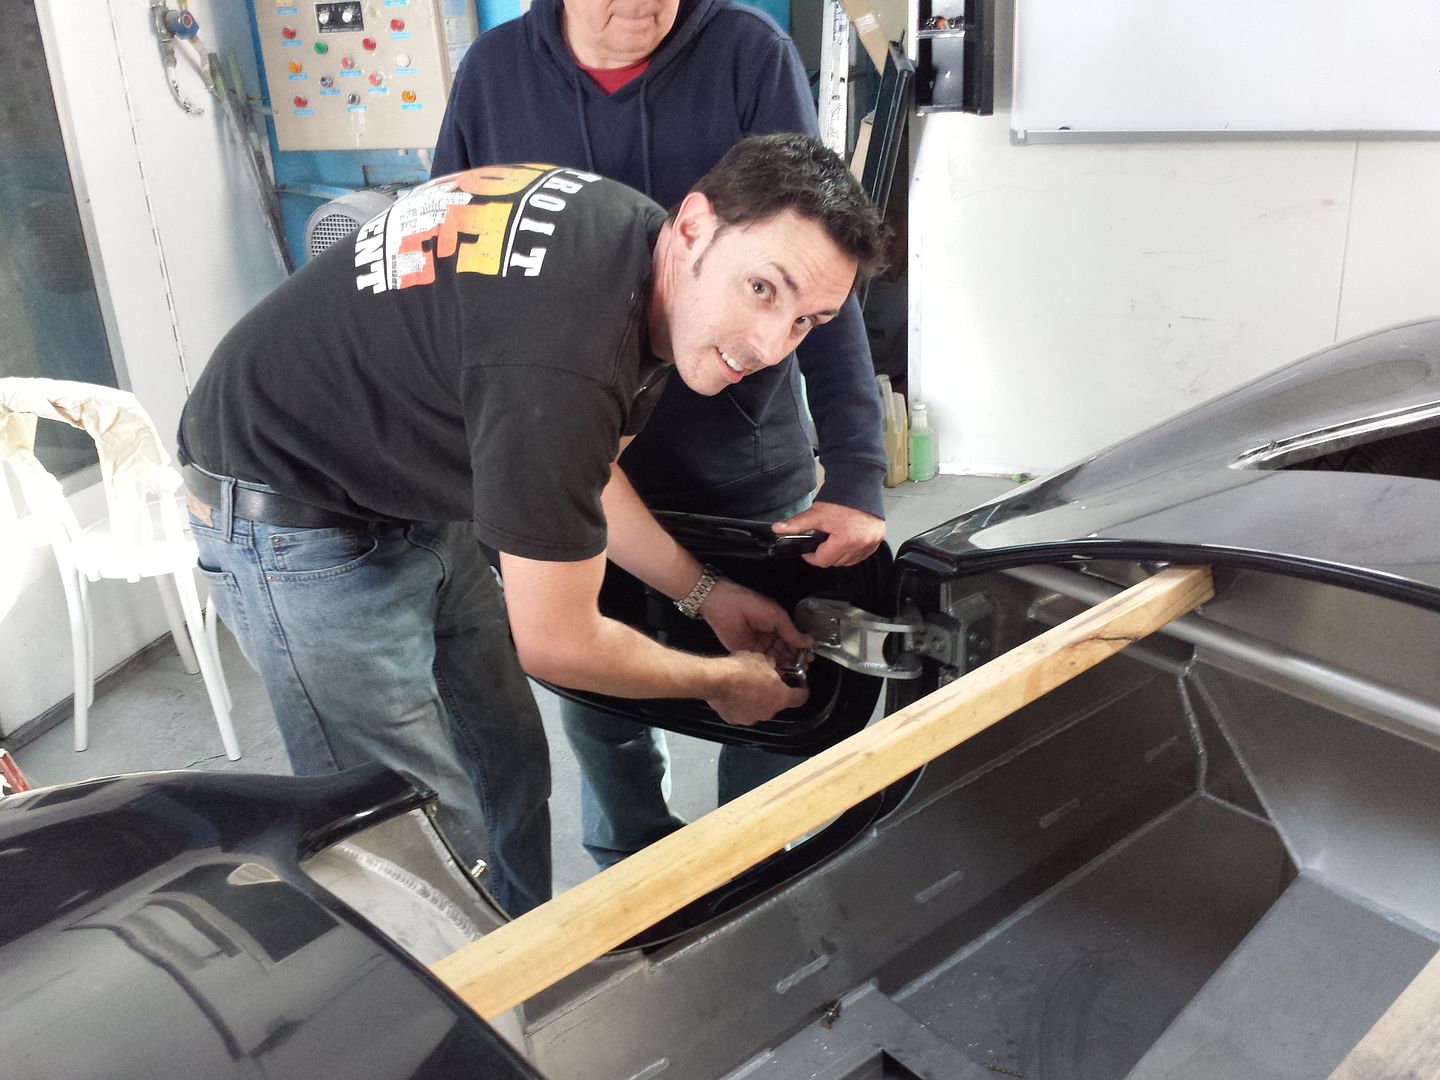
Next up, we got the polished mirror engine bay panels ready to fit, test placing them first to ensure they worked..which they did. By this time, Russel had left so Darryl and I kept at it. I left the aluminised insulation a little larger, so we decided to deviate from the instructions in the manual that say to cut the cloth panels 5-10mm shorter before installation so they sit under/inside the mirror panels (so you can't see them). We decided to temporarily fit the cover panels in position first, drill the mounting holes, then mark around that outline of the cover panels onto the aluminised cloth, then trim that 5-10mm in from that with a razor blade. Finally, the edges can be sealed with the Parfix grey roof and gutter silicone. I think this will make for a cleaner fitment.
The manual calls for a 10/24 tap. Let me tell you these are not easy to find. So we had a tap very similar on hand and used that which worked a treat. We decided to tap the body for most of the fitting bolts (with Loctite 243), only using nuts on the backside as required.
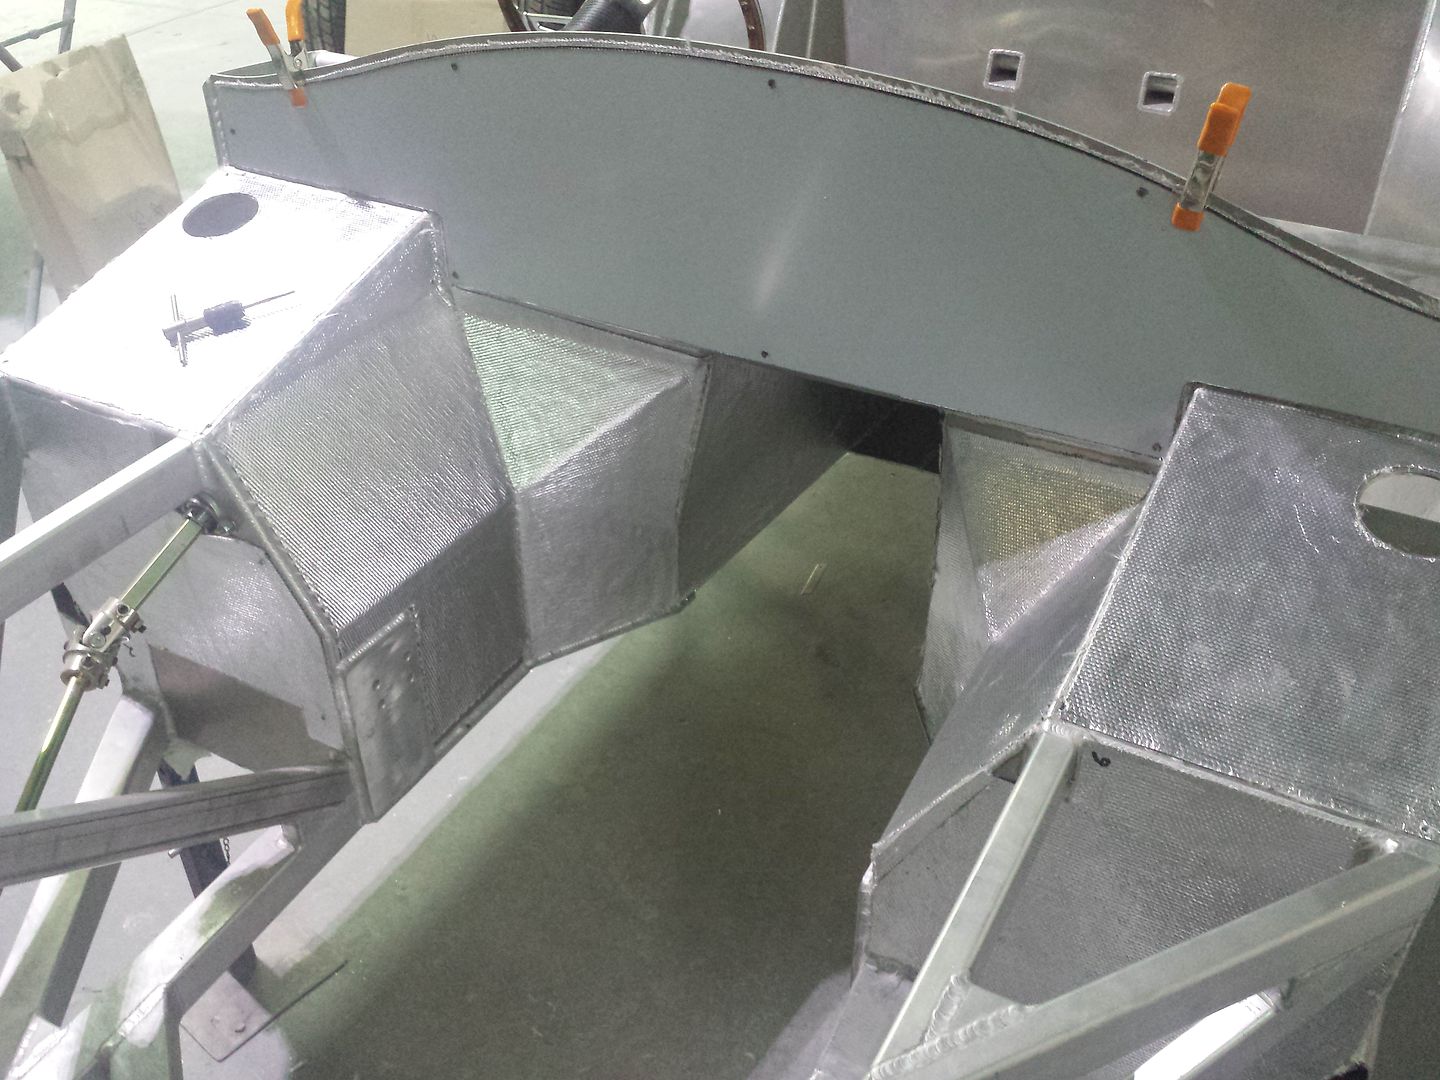
One important point to note which isn't in the manual. When you fit the cover plates, you have to place a 3mm nut to act as a spacer between the cover plate and the aluminised material. You need to tape a couple of these nuts to the vertical sections of the cover plates so that when you fit the plates for marking the mounting holes, the washer 'moves' the cover plate over 3mm. If you didn't put the washer in and just marked the plate, you'd be skewed 3mm over. Remember, measure twice, cut once!
So, this is where we left it for the day. This week, I'm going to finish fitting the cover plates and then I will commence fitment of the brake lines, pedal box, master cylinders, fuel tank, fuel pumps and fuel line and charcoal line. After that, the car should be ready to receive the engine and transmission.
