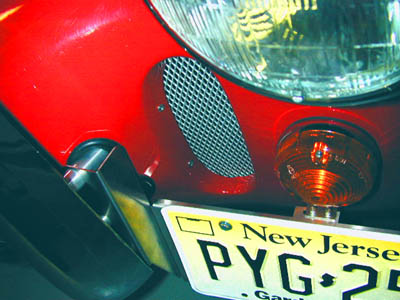
This posting is meant as a technical article to help those who may come after me. If you have an ERA and live in a state where you must have a front license plate, deciding how to mount it can be a real problem. These instructions may also work for other cars...
Finishline makes a real nice stainless steel plate holder, but – does it fit an ERA? Well, yes...and no.
Here is how to install the Finishline holder. Allow a good 4 hours.
Step #1 – the holder from Finishline is actually 2 pieces – the license plate bracket, and a support piece that goes under the left front turn signal. The first step is to drill out holes in the support piece so it will sit flat behind the lens assembly. Be sure to buy high quality drills (2 drills... a starter and a finisher...both in titanium - about 5 bucks each at Lowes, oh yeah...you need a center punch too...)– this material is HARD to drill, and 4 holes are required. Don’t worry about the hole size – in fact, make the holes oversize – first of all, this piece where drilled doesn’t show when finished, and secondly, it is may be necessary to rotate the bracket slightly as you fit everything together. See picture #1 here to see where to drill. (Listen up Finishline – Do your customers a favor and pre-drill this piece. It is HARD to drill!)
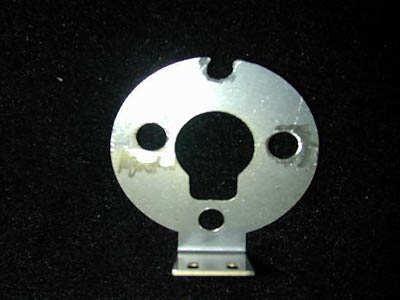
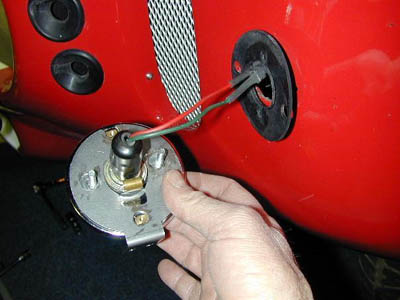
After drilling, the support piece should fit onto the signal light like this (the rubber gasket fits between this piece and the body):
Next, comes a critical step – the tubes covering the bumper support rods must be cut exactly right. The 2 rods are different lengths, and are cut differently. To do this, I re-recreated the tubes in plastic ($3.00 at Lowes) , so that if I made a mistake, I was only out a few dollars rather than the big $$ I am sure these pieces would cost from ERA. Here is a picture of the original and plastic brackets side by side before cutting.
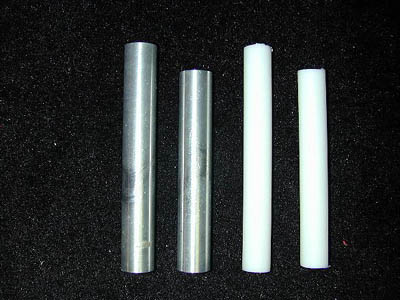
Next, I reinstalled the bumper and marked where to cut the tubes. In my case, I cut the top tube at 1 5/16”, and the bottom tube at 15/16”. I do not guarantee these numbers! I suggest you check your own!! Be very exacting with this dimension…it is critical.
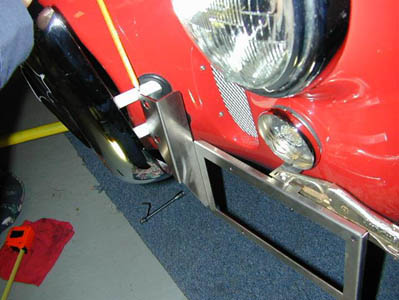
Refit everything with the plate holder, and snug up to check the fit. If everything clears, then go ahead and cut the aluminum tubes. This pic is taken looking down.....
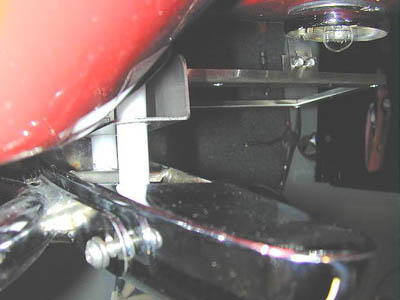
If there is any interference, adjust accordingly. If necessary, make another plastic tube set and refit. (In my case, the cutting dimensions above were perfect). Remember – cut the plastic sets as often as you want, but only cut the aluminum tubes once. I used a steel cutting wheel on my miter saw to get a perfect 90 when I was satisfied.
Next, fit it all up and reinstall the turn signal and bumper.
Voila! A real nice front plate holder.

