OK this might be a massive post. Hope this works. I originally intended for my Cobra to be a daily driver and so I got the hard top and fitted air conditioning. I have just completed making the side windows and thought some people might like to see how it was done. Wish somebody had done it for me
Damm, cant work out how to get pics on here so I will write picture descriptions and you will have to look at me gallery. Sorry.
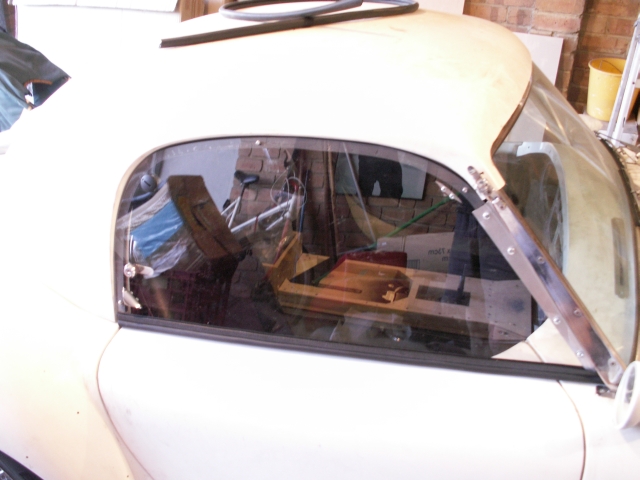
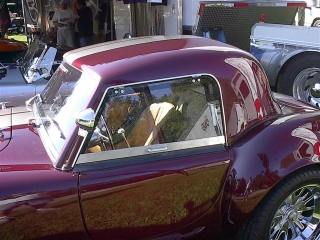
Window: This is a pic of the completed window
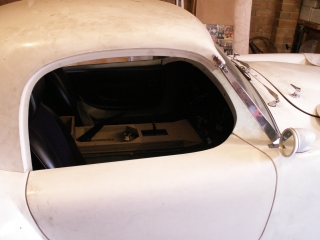
Window1: The hard top as is from DRB
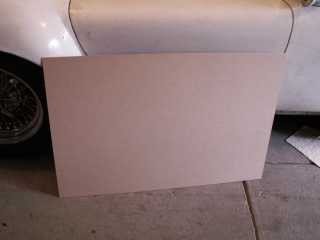
Window2: Get 2 thin boards from hardware store to make templates.
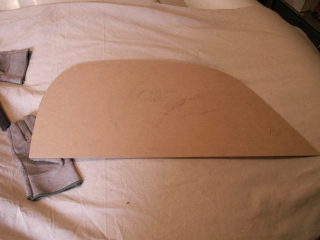
Window3: Jigsaw and plane to shape (its easy)
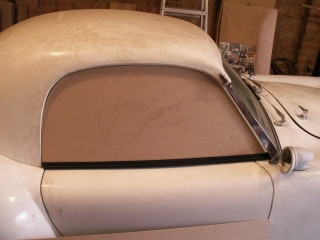
Window4: Test fit with lower rubber in place (lower rubber take up about 10mm)
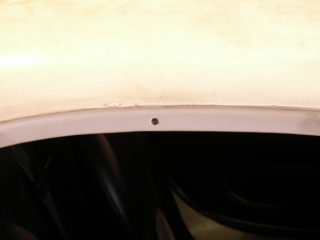
Window5: Drill 3 holes in hard top (I used 6mm bolts)
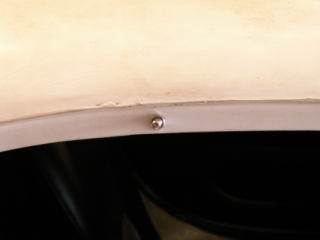
Window6: Insert stainless steel bolts (pins would be better, I could not find any)
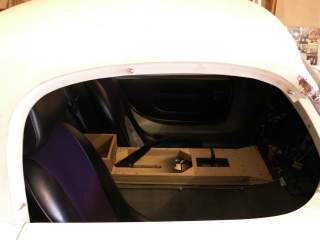
Window7: 3 bolts in place
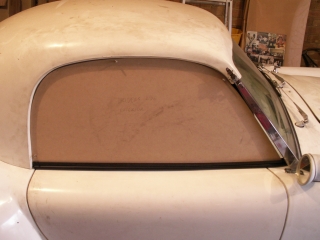
Window8: Test fit
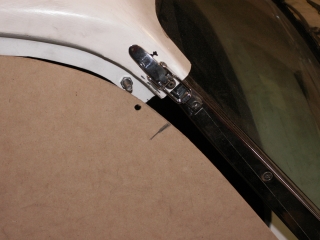
Window9: Mark the edge of the hard top on the board
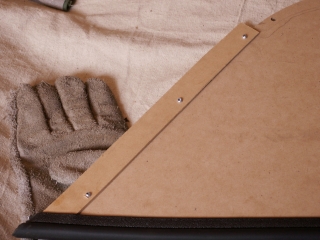
Window 10: You need to make a strip as shown here to stop the window falling out. In this photo you'll see I used rivets. I switched to bolts and dome nuts as the perspex guy told me that I must allow room for expansion or the perspex will crack.
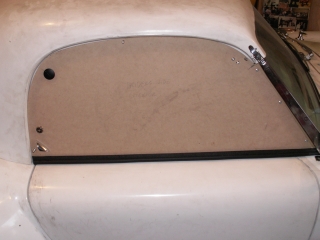
Window11: Now fit small handles to bottom exterior and top interior to make it easy to put window on and off. Fit key lock (if you want it lockable). Fit non key lock to top corner (no key so you can open and close from inside).
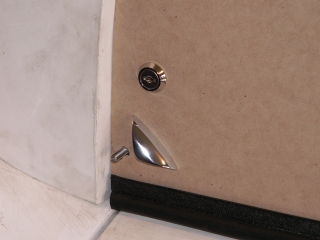
Window12: Close up exterior
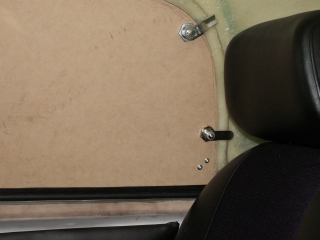
Window13: Close up interior
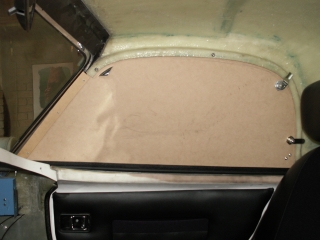
Window13.5: Interior view
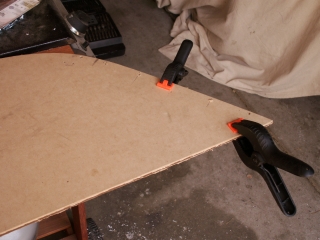
Window 14:Take the templates to a perspex place. They will cut it to the same size as you template. I used 4.5mm perspex and both pieces cut to shape cost me $80 total. The perspex will have paperon it, leave it on so you dont scratch it. Clamp the template to the perspex and drill the holes for the bolts, locks etc.
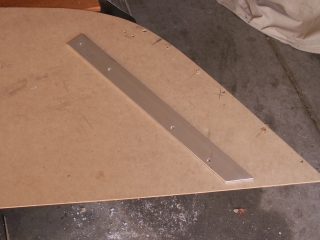
Window15: Make the bit that goes near the windscreen to stop the window falling out. I used alluminium.
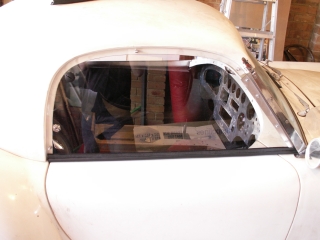
Window16: Almost finished, just need to put the adhesive rubber strip around the window.
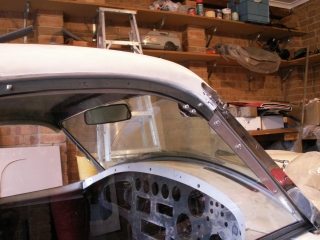
Window17: Completed window. I stuck the rubber to the window but you could stick it to the hard top or get one that presses onto the lip. Damm wish I had thought of that earlier
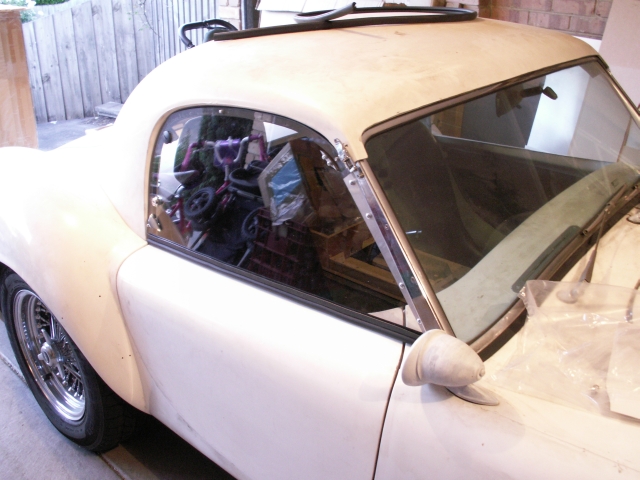
Window18: Completed window. Total cost around $200 Australian
Window19: This is similar to the FFR hard top window from the USA. This is what I originally wanted. The hinges have a press clip so the windows are easily removed. Unfortunately the DRB has a curved top edge so hinges could not be used. Anybody want to buy some hinges?
Working night shift with nothing better to do.
Cheers,
Bryan