Well after finally making an a/c system for inside my shed I can now safely and comfortably work in there.
We have had days upto 44 degrees out here lately.
Friday night after work I headed out to the shed with the aim being to have the pedal assys ready to bolt in and allready be adjusted to the correct levels. I also wanted to make the brake and clutch pipes from the master cylinders to there connectors.
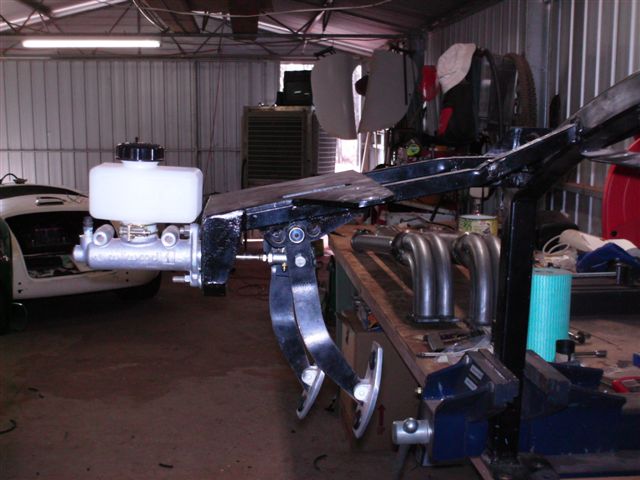
I fitted the master cylinders to my under dash support brace and shortened the push rods the required amount to allow me the correct pedal positions.
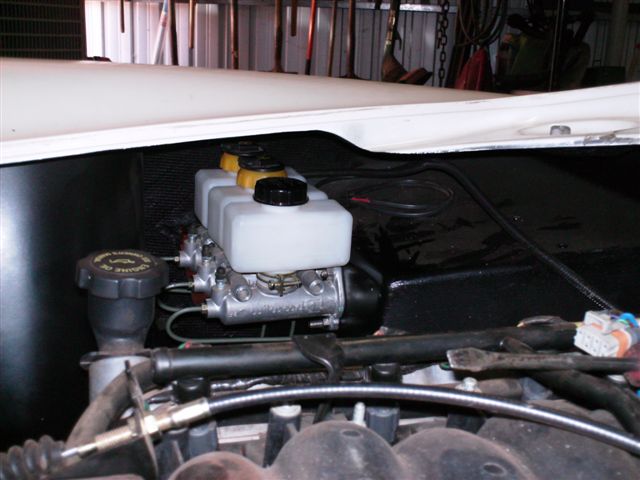
Once I was satisfied with that I mounted a master cylinder to the firewall and bent the pipes into there correct shapes, I also bought the genuine Holden pipes and hoses and clips for the clutch system, I modified and mounted these to a position where I was happy that all would be located where they need to be.
Saturday morning I headed into town and had the brake guy flare the ends for me (I had broken my flaring tool last week), I also bought some steel and odds and ends.
Back at home I mounted the under dash brace and fitted the master cylinders to the car, fitted and adjusted the pedals and push rods then fitted the pipes I had made.
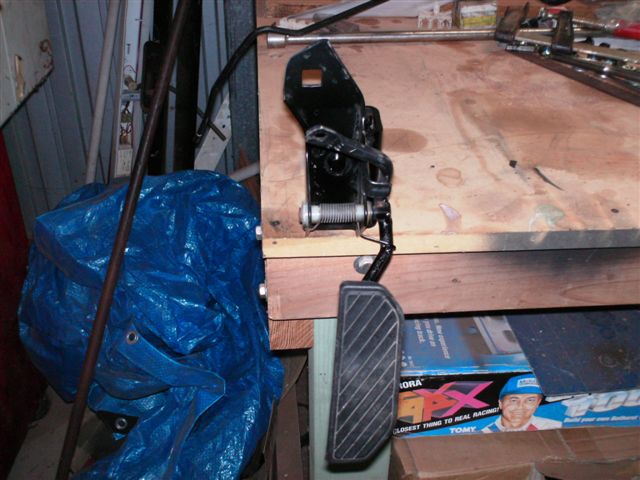
Next I started on the accelerator pedal, I wasnt happy with its alignment so I modified the arm so I could get the pedal sitting how I wanted it, also to allow for an easier mounting postion and still have clearance from brake pedals and the bias balance bar system.
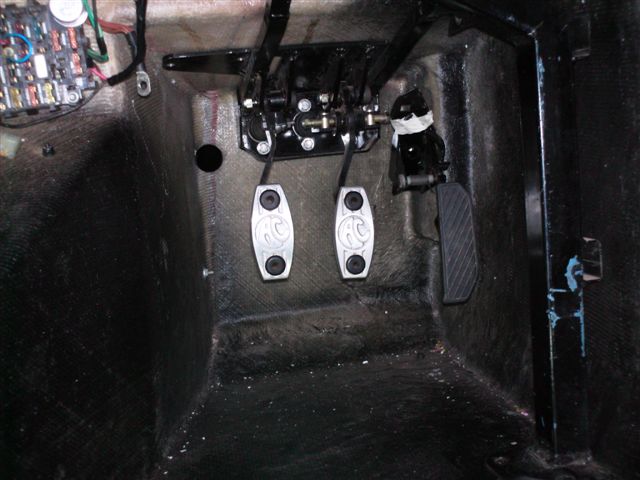
Then I bolted it into the car, the mounting bolts are accessable through the side vent hole.
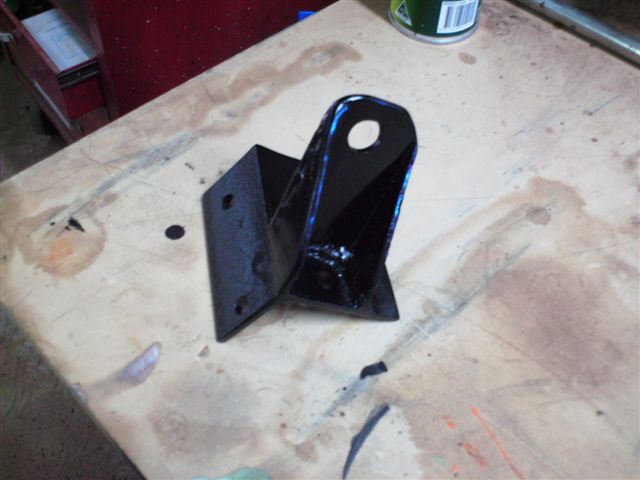
Now it was time to get the steering shaft sorted out and fit a suport for it.
After much measuring and testing this is the suport bracket I made.
And here it is mounted in the car.
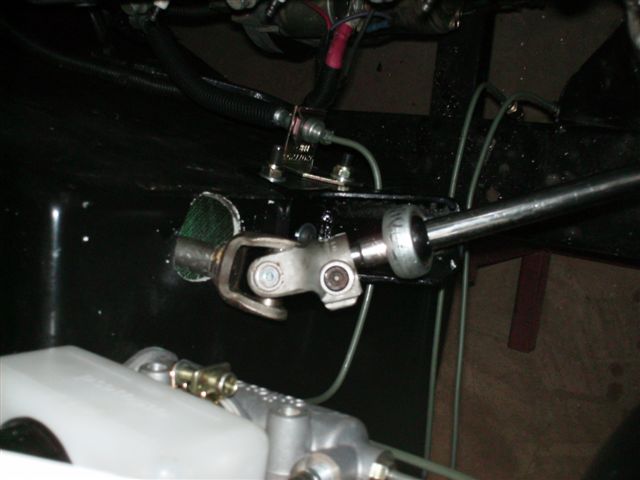
That is the clutch pipe and hose you can see below it.
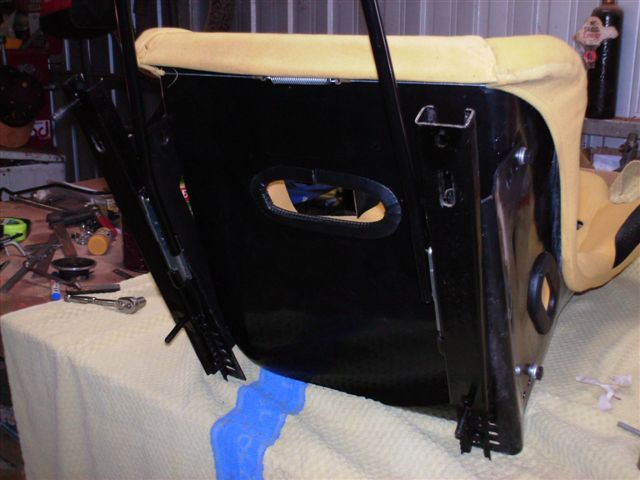
Next came time to make an adjustable drivers seat base.
I bought my seats from ebay a few years ago from a store, they initally sent me a wrong seat, when I contacted them they where very helpful and sent me the correct 2 seats straight away, I asked how I could get the wrong seat back to them and they advised me to keep it, this was a good thing as it had sliding tracks on it.
I used this track and fitted it to the seat, I measured up the pre made seat mounting position and found that one side had been drilled about 5 mm different to the other side (inner and outer position on drivers side) I measured the slider I had and found it was 320mm centre to centre and my floor was 320 one side and 325 the other.
After modifying the runner I mounted it to the car and tested the fit and adjuster, all working well.
Next up was to refit the dash and fit the hand brake, I remembered talking to Aussie Mike and in passing coversation he had said that the hole around the gearstick is a good access point for the hand brake, I just needed to make the hole bigger.
So being very mindful of where the fuel lines, battery lead and rear wiring harness where located in the tunel I cut my hole larger.
And I have to agree that what used to be a task I would sware at for 1 hour before getting it fitted now took all of 10 minutes.
Before refitting the indicator switch I looked at it a little more thorough and realised the plastic cover on the indicator/headlight stalk is bolted on.
I have mounted a headlight switch in the dash and have moved my hazzard light switch to a dash location aswell and I am not fitting wipers, so I could remove all these switches from the assy.
I have removed the wiper switch and fitted the assy upside down to the colomn, so now the stalk is on the left hand side of my steering wheel.
When I removed the plastic cover of the indicator stalk I found the shaft inside is a nice aluminium one, so I will polish this up and fit a little plastic knob on it like the older Holdens had.


It was at about this time I realised I had forgotten on Friday night to fit a brake light switch, so out came the seat again and luckily it was a fairly simple task to weld a tab in place and sort that out.
I then refitted the seat and bolted in the steering wheel, I couldnt help myself but to sit in the seat, hold the wheel and start pressing pedals.
I then grabbed a chux and cleaned all the spitle from the steering wheel and dash.
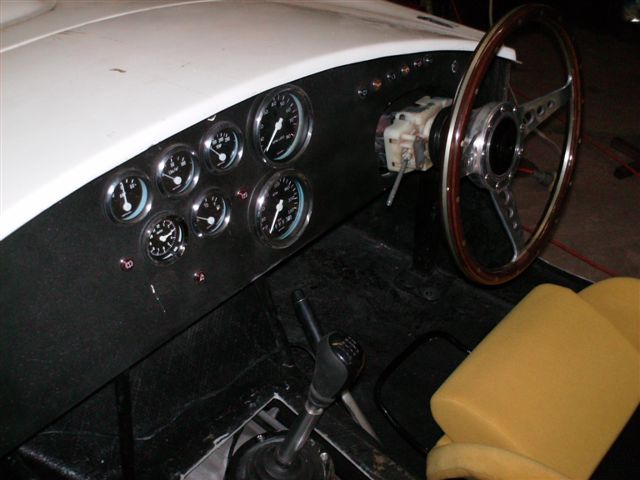
Here are some pics of dash in place.
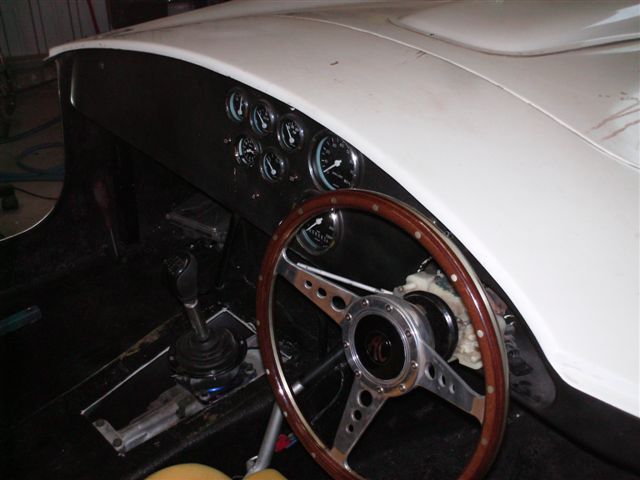
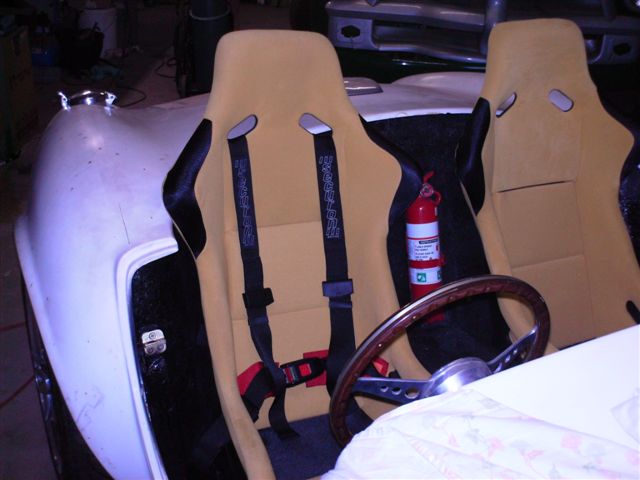
And lastly I started on the passengers seat but it was getting close to diner time, my feet where sore and I was ready for a shower.
So I sat the seat in place and sat the drivers seat belt in place for 1 last pic.
Hope the story wasnt too long or boring.